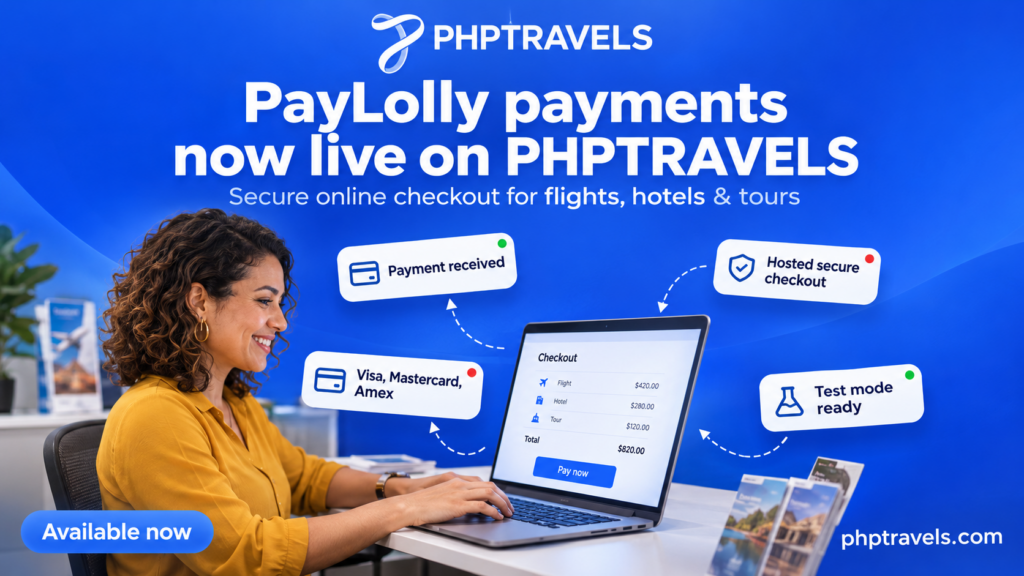
Travellers expect to pay for a flight, hotel or tour on the agency’s own website, with a card checkout they recognise and trust. Agencies want the opposite side of that bargain: payments that settle to their own account, without card numbers ever passing through their servers. PHPTRAVELS now includes the PayLolly payment gateway as a ready option, so an agency can open a PayLolly merchant account, paste two credentials into the admin panel and start taking booking payments on PayLolly’s hosted payment page.
This article explains what the PayLolly payment gateway is, how the checkout works inside PHPTRAVELS, what you need before you switch it on, and the path from a staging test to your first live payment. The step-by-step technical reference is the official PHPTRAVELS PayLolly setup guide; this post gives the business context around it.
What the PayLolly payment gateway adds to PHPTRAVELS
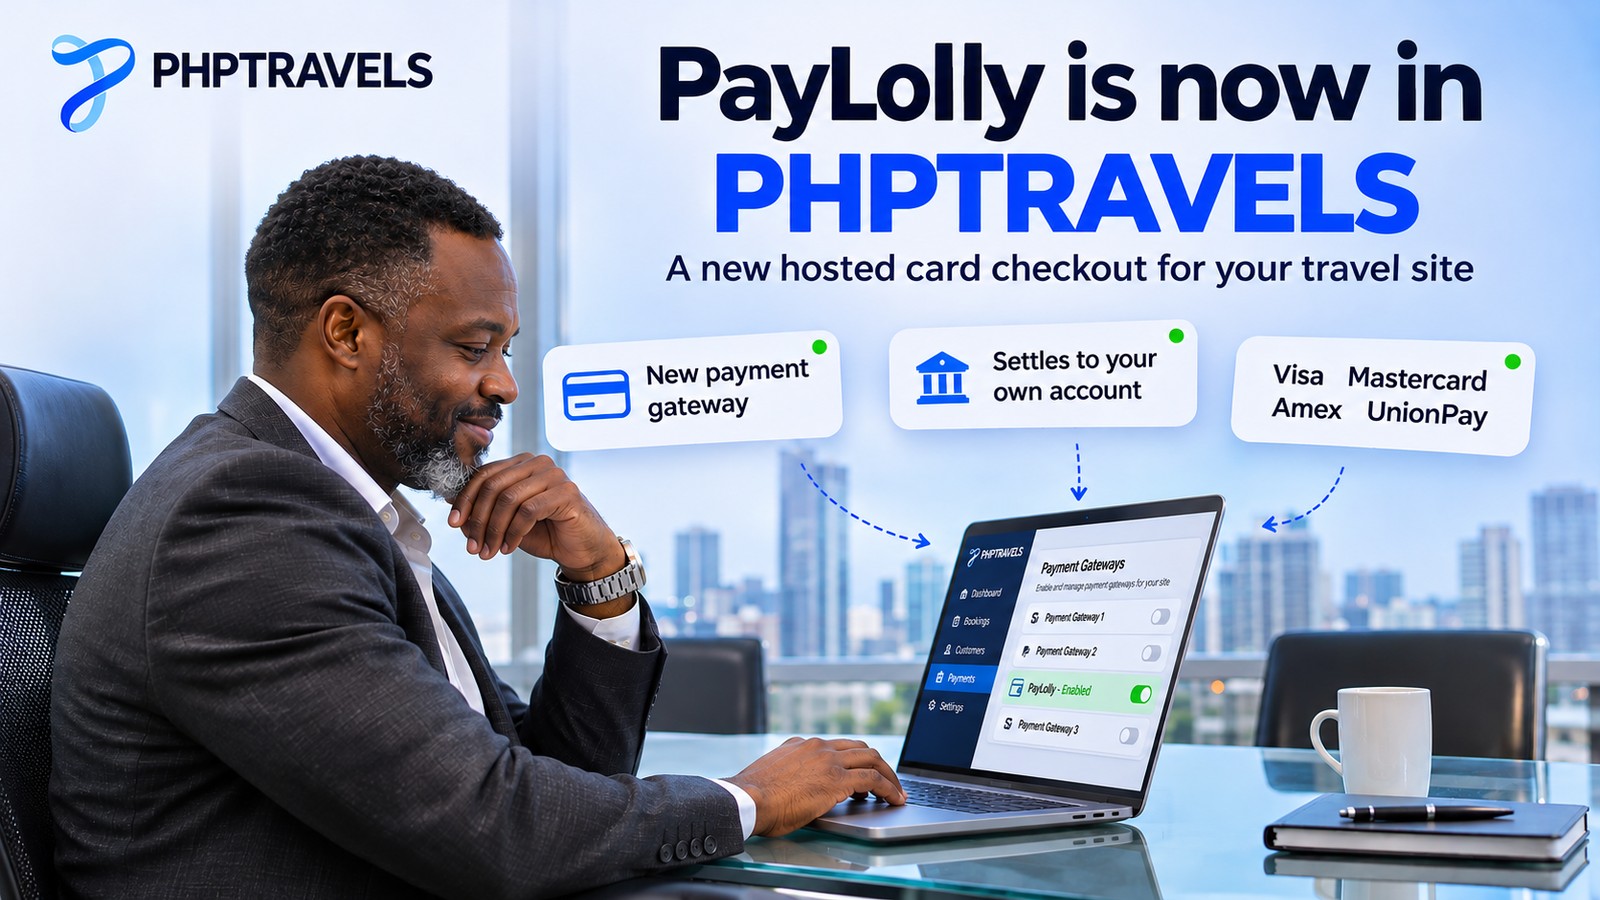
PayLolly is a payments company operated by Paylolly Limited, with its office in Nicosia, Cyprus (per its contact page). It offers online payments, pay-by-link, a virtual terminal and what it calls revenue optimisation. On its website, PayLolly describes itself as PCI DSS Level 1 compliant and says it is connected to more than 100 acquirers, with intelligent routing between them, a 3-D Secure fraud engine, built-in dispute management, a dedicated account manager and 24/7 support. Those are PayLolly’s own claims, so treat them as a starting point for your sales conversation with them, not as a guarantee for your market.
For a PHPTRAVELS agency, the practical change is simple. PayLolly now sits in the same Payment Gateways list as the other ready gateways, and it is listed in the Payments category on our partners page and the integrations directory. Turning it on gives your B2C or B2B site:
- A hosted card checkout. The traveller enters card details on PayLolly’s payment page, not on your website.
- Settlement to your own merchant account. The money goes to your PayLolly account. PHPTRAVELS is not the merchant of record and takes no cut of your bookings.
- Major card brands. PayLolly lists Visa, Mastercard, American Express and UnionPay among the methods it supports. Which ones your travellers actually see depends on what PayLolly enables on your merchant account.
- A staging environment. You can run complete test bookings with test cards before any real money moves.
How the PayLolly checkout works on your travel website

The integration uses PayLolly’s hosted payment flow, which PayLolly’s API documentation recommends for most merchants. From the traveller’s side it looks like this:
- The customer searches, picks a flight, hotel, tour or other product and confirms the booking on your PHPTRAVELS site.
- On the payment step, they choose PayLolly.
- PHPTRAVELS creates a hosted payment with PayLolly for the invoice amount and currency, and redirects the customer to PayLolly’s payment page.
- The customer enters their card details there. If the card issuer asks for 3-D Secure, PayLolly runs that challenge on the same page.
- PayLolly sends the customer back to your invoice page.
- PHPTRAVELS asks PayLolly for the payment status. Only an Approved payment for that invoice’s reference, amount and currency marks the booking as paid.
That last step matters more than it looks. A browser return on its own proves nothing: a customer can close the tab, go back, or land on the return page without paying. Because PHPTRAVELS checks the result with PayLolly on the server before it updates the booking, a declined card or an abandoned payment page leaves the booking unpaid instead of quietly confirming it. Payments are captured straight away (an authorise-and-capture payment initiated by the customer), which suits standard travel bookings where you pay the supplier soon after the sale.
The hosted approach also keeps your compliance work small. In PayLolly’s documentation, the hosted payment integration falls under PCI SAQ A, the lightest self-assessment questionnaire, because card data is entered on PayLolly’s page and never touches your server. If you want the wider picture of card-data scope, fraud checks and chargebacks for an online travel business, our guide to travel booking payment security covers it in depth.
What you need before you switch PayLolly on
PHPTRAVELS supplies the technical connector. The commercial relationship, the credentials and the settlement account are yours. Before you start, line up the following:
- PHPTRAVELS with the PayLolly gateway (v10, or a later release that includes it) and admin panel access.
- A PayLolly merchant account. Onboarding goes through PayLolly’s team rather than a self-serve signup: use the PayLolly get-started form or email sales@paylolly.com. PayLolly’s terms say it carries out identity and business checks (KYC) when an account is opened, so have your company registration and ID documents ready.
- Your API Key and Merchant ID. Both are long identifiers (GUIDs) that PayLolly issues during onboarding. You may also receive an Account ID if PayLolly gives you several processing accounts.
- Separate staging and live credentials. PayLolly’s staging and live environments use different keys and different API endpoints.
- A currency your PayLolly account accepts. Supported currencies depend on your merchant account and acquirer setup, so confirm them with PayLolly.
- HTTPS on your production website.
On timing, PayLolly’s public FAQ says most merchants connect to its hosted payment page within a few days. On cost, PayLolly does not publish a public price list; its FAQ says it charges a transaction fee on each processed payment. Agree the rate with PayLolly directly, and remember that gateway transaction fees are always separate from your PHPTRAVELS licence.
How to enable PayLolly in the PHPTRAVELS admin
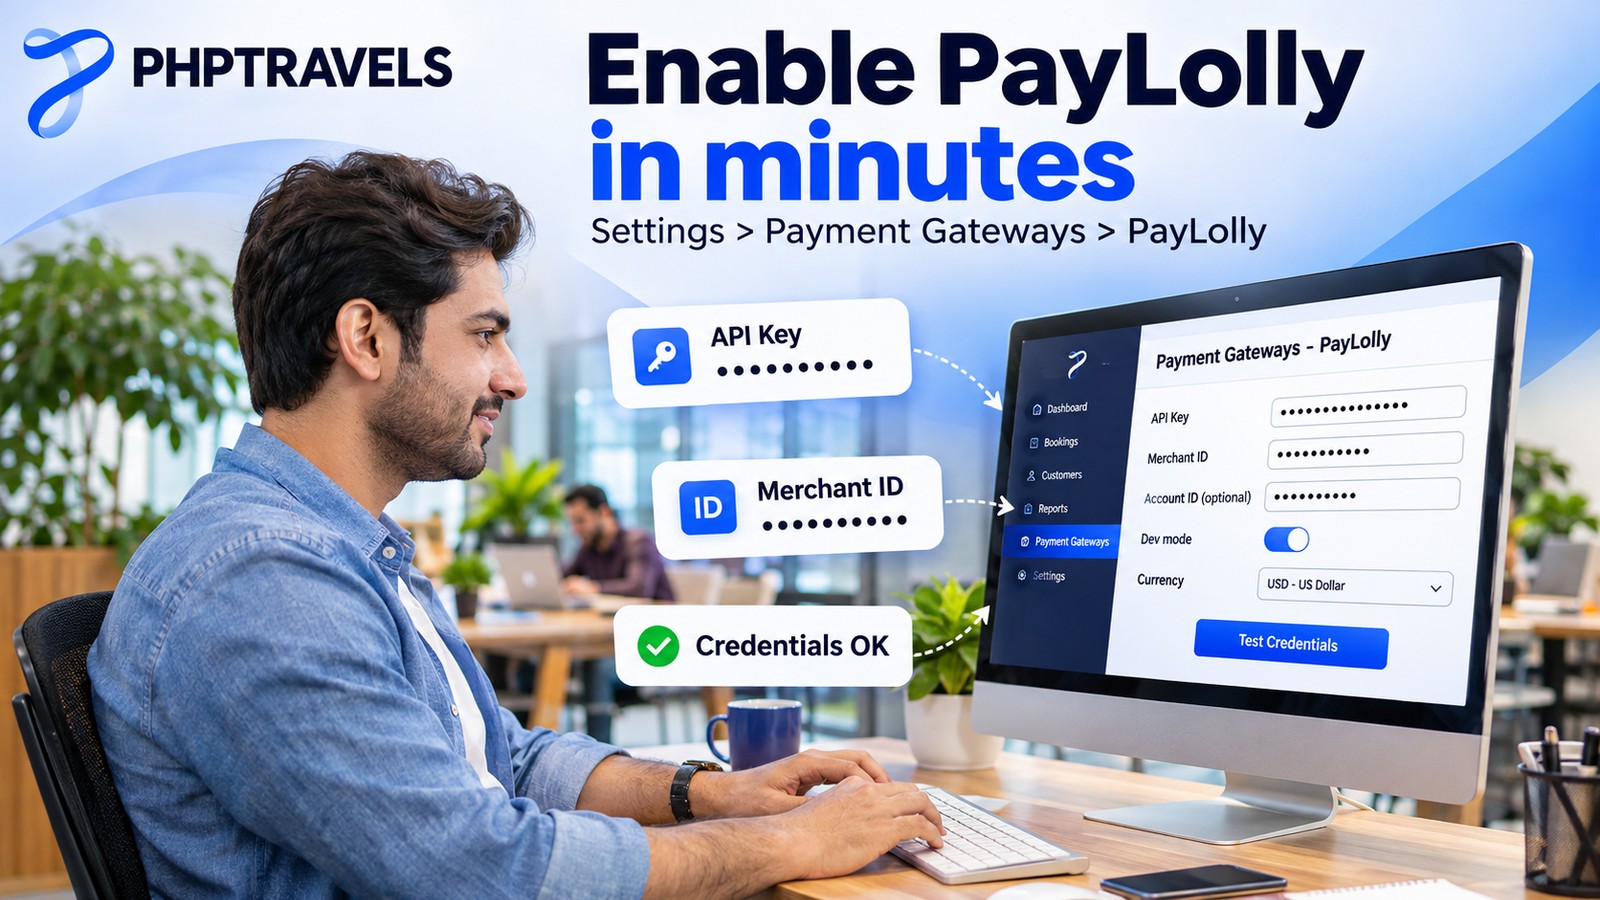
Once you have staging credentials, the setup takes a few minutes:
- Log in to the PHPTRAVELS admin panel and open Settings → Payment Gateways → PayLolly.
- Set the gateway Status to Enabled.
- Turn Dev mode on. With Dev mode on, PHPTRAVELS talks to PayLolly staging; with it off, it talks to the live API.
- Paste your API Key and Merchant ID. Add the Account ID only if PayLolly told you to use one; otherwise leave it empty.
- Set the Currency field to a currency your PayLolly account accepts, then save.
- Click Test Credentials. PHPTRAVELS makes a read-only call to PayLolly to confirm that the key belongs to that merchant on the selected environment.
If the test fails, the message usually points at the fix. “API key missing” or “Merchant ID missing” means a required field is empty. “Invalid Merchant Key” usually means a staging key is being used with Dev mode off, a live key with Dev mode on, or the key was pasted with a stray space. A message saying the key belongs to another merchant means the API Key is valid but the Merchant ID or Account ID does not match it.
The currency field also works as a safety net. If a booking is in a currency PayLolly rejects for your account, PHPTRAVELS retries the payment in the PayLolly currency you configured, converted with your site’s exchange rates, and gives each attempt a fresh merchant reference. Make sure your site has a rate for that currency pair, or the conversion cannot happen.
Treat the API Key like a password. Never paste it into a support ticket, a screenshot, a video or frontend code, and ask PayLolly to replace it if it is ever exposed.
Testing in staging, then going live
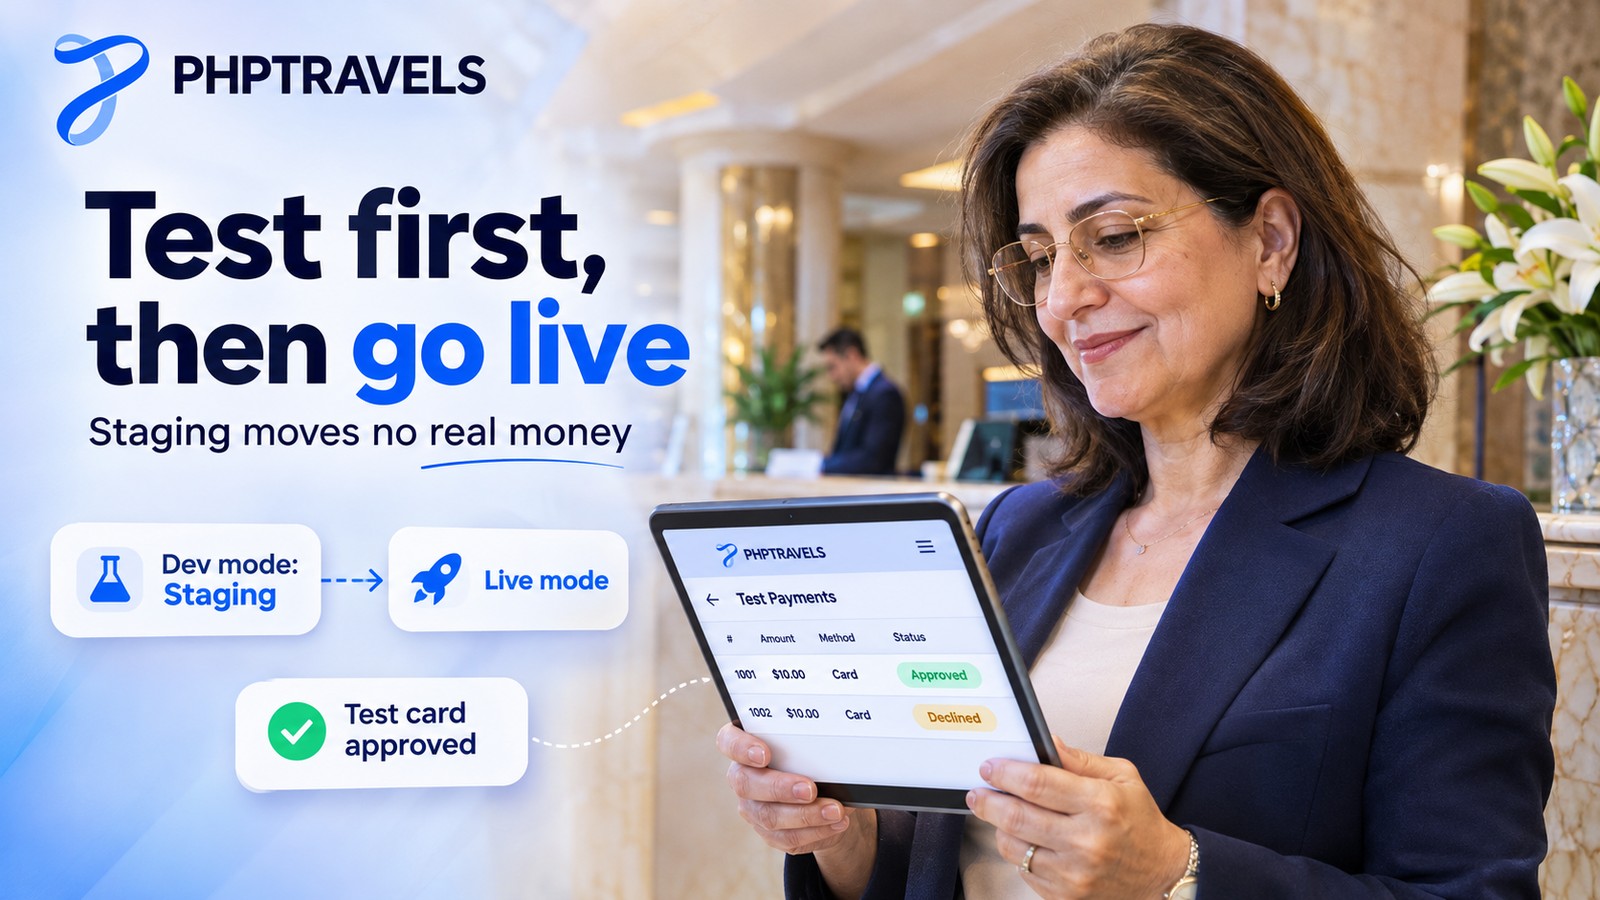
PayLolly’s staging environment does not process real transactions. No funds move and it has no connection to the card networks, so you can test freely. A good test round covers both outcomes:
- Create a booking on your frontend (a hotel booking is the quickest), choose PayLolly and pay with an approved card from PayLolly’s staging test cards. Check that the invoice shows Paid, the amount and currency are right, and the payment appears in your PayLolly staging portal.
- Repeat with a declined test card, and once more by leaving the payment page without paying. Both bookings should stay unpaid.
- If 3-D Secure is active on your staging account, use the 3-D Secure test cards on the same page to see the challenge step.
When every case behaves as expected, ask PayLolly to activate your live account and issue live credentials. Then turn Dev mode off, replace the staging API Key, Merchant ID and Account ID with the live values, run Test Credentials again and make one small real payment before you announce the new checkout to customers. Never use test cards in production, and never use real cards while Dev mode is on.
After go-live, a paid booking flows into your normal back-office records like any other gateway payment. If you also track leads, invoices and payment follow-ups outside the booking engine, a dedicated agency CRM such as Travel CRM System keeps those customer records and payment histories in one place for your sales team.
Who PayLolly fits, and running it next to other gateways
PayLolly is a good fit for travel agencies, OTAs and tour operators on PHPTRAVELS who want another card acquirer with a hosted checkout, a staging environment and a direct account manager. It is especially useful if your current gateway does not serve your market well, or if you want a second gateway so a single provider outage or risk review does not stop your sales.
It is a poor fit if you expect PHPTRAVELS to provide the merchant account itself. We do not: every gateway in PHPTRAVELS, PayLolly included, runs on the agency’s own contract and credentials, and supported currencies, card brands and fees come from that agreement. If you are still choosing a payment provider, our guide on how to choose a payment gateway for a travel agency walks through the criteria.
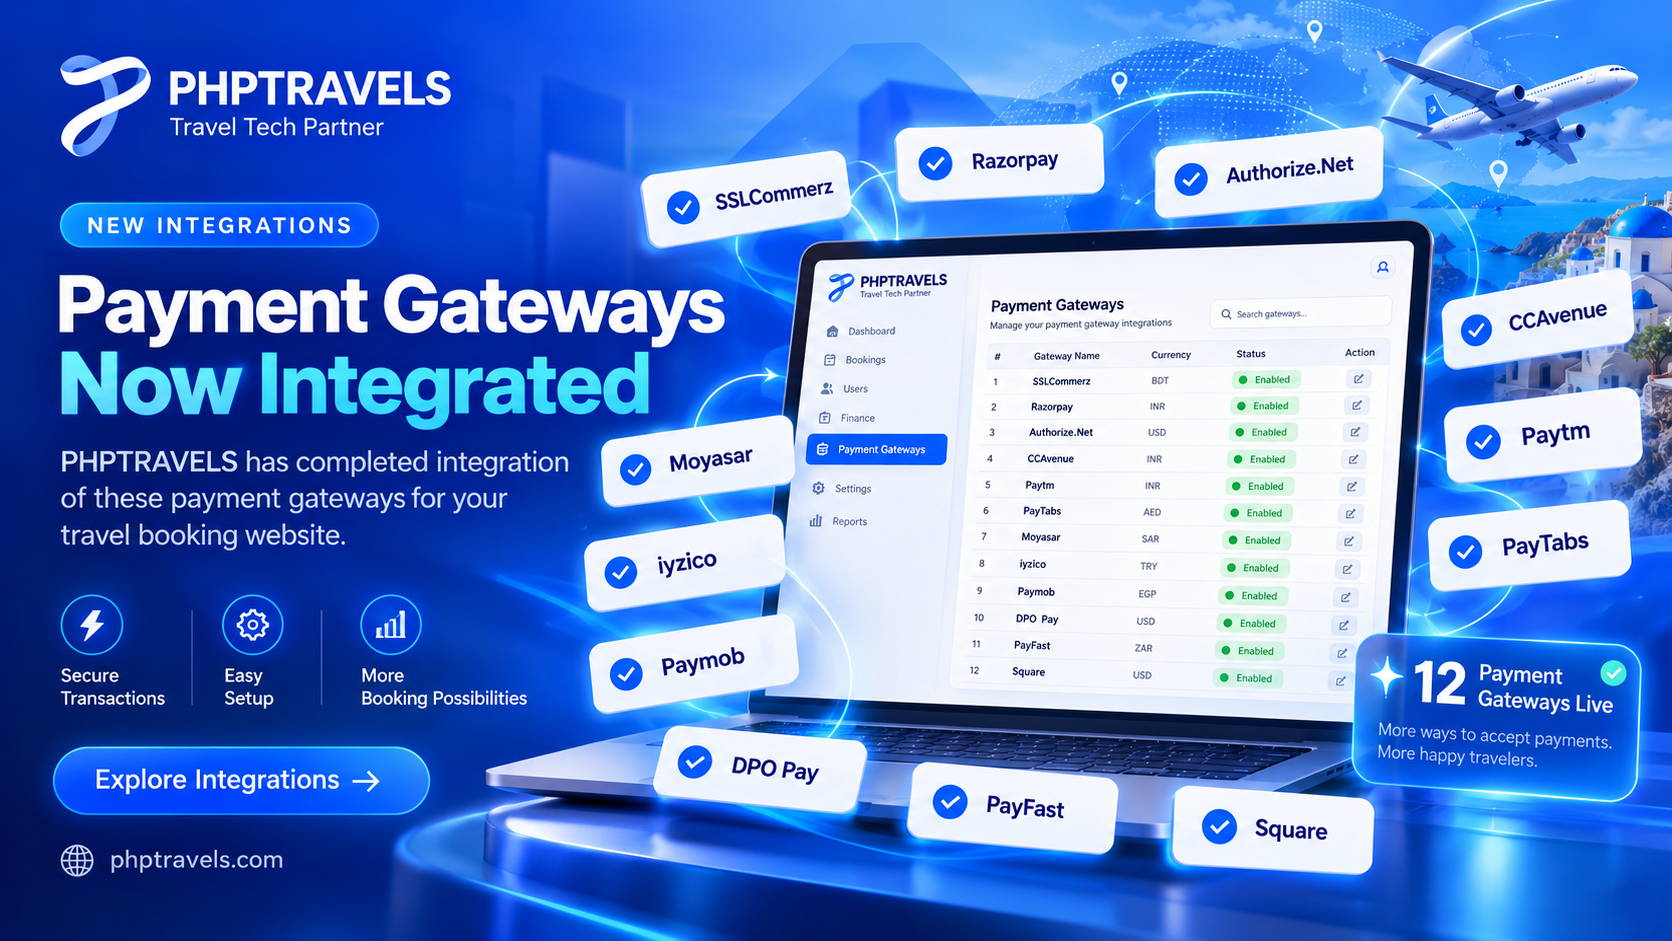
You do not have to pick only one. PHPTRAVELS lets an agency run several gateways side by side, such as PayLolly next to Stripe, PayPal or a regional gateway, alongside bank transfer, pay later and wallet balance. Customers choose on the payment step. B2B agencies often keep wallet or credit-limit payments for sub-agents and offer cards to retail customers; our article on B2B travel payments explains those flows, and TravelBookingPortal’s feature overview shows how a full booking platform combines B2C checkout, agent portals and back office. For the other gateways we added recently, see 12 new payment gateway integrations in PHPTRAVELS.
PayLolly payment gateway FAQ
Does PHPTRAVELS store my customers’ card numbers?
No. With the PayLolly integration, cards are entered on PayLolly’s hosted payment page. Your PHPTRAVELS server receives the payment result, not the card data.
Which credentials do I need?
An API Key and a Merchant ID from PayLolly, plus an Account ID only if PayLolly gives you more than one processing account. Staging and live credentials are different.
Which cards can travellers use?
PayLolly lists Visa, Mastercard, American Express and UnionPay among its supported methods. The cards offered at your checkout depend on what PayLolly enables on your merchant account, so confirm this during onboarding.
How much does PayLolly charge?
PayLolly does not publish a public price list. Its FAQ says it charges a transaction fee on each processed payment, and you agree the rate with PayLolly. That fee is separate from your PHPTRAVELS licence.
Where does the money go?
To your own PayLolly merchant account. PHPTRAVELS never holds booking funds and takes no commission on your sales.
What happens if a customer closes the payment page?
The booking stays unpaid. PHPTRAVELS only marks a booking paid after PayLolly confirms an Approved payment for that booking’s reference, amount and currency.
Can I test without real money?
Yes. Turn Dev mode on, use your PayLolly staging credentials and pay with PayLolly’s published test cards. Staging moves no funds.
Start taking PayLolly payments
If you already run PHPTRAVELS, open the PayLolly setup guide, request your merchant account from PayLolly, and you can be testing in staging as soon as your credentials arrive. If you are still choosing a travel booking platform, book a PHPTRAVELS demo to see the checkout and payment gateways in action, or build your own package on the pricing page, where payment gateways are added per gateway alongside your suppliers and modules.